
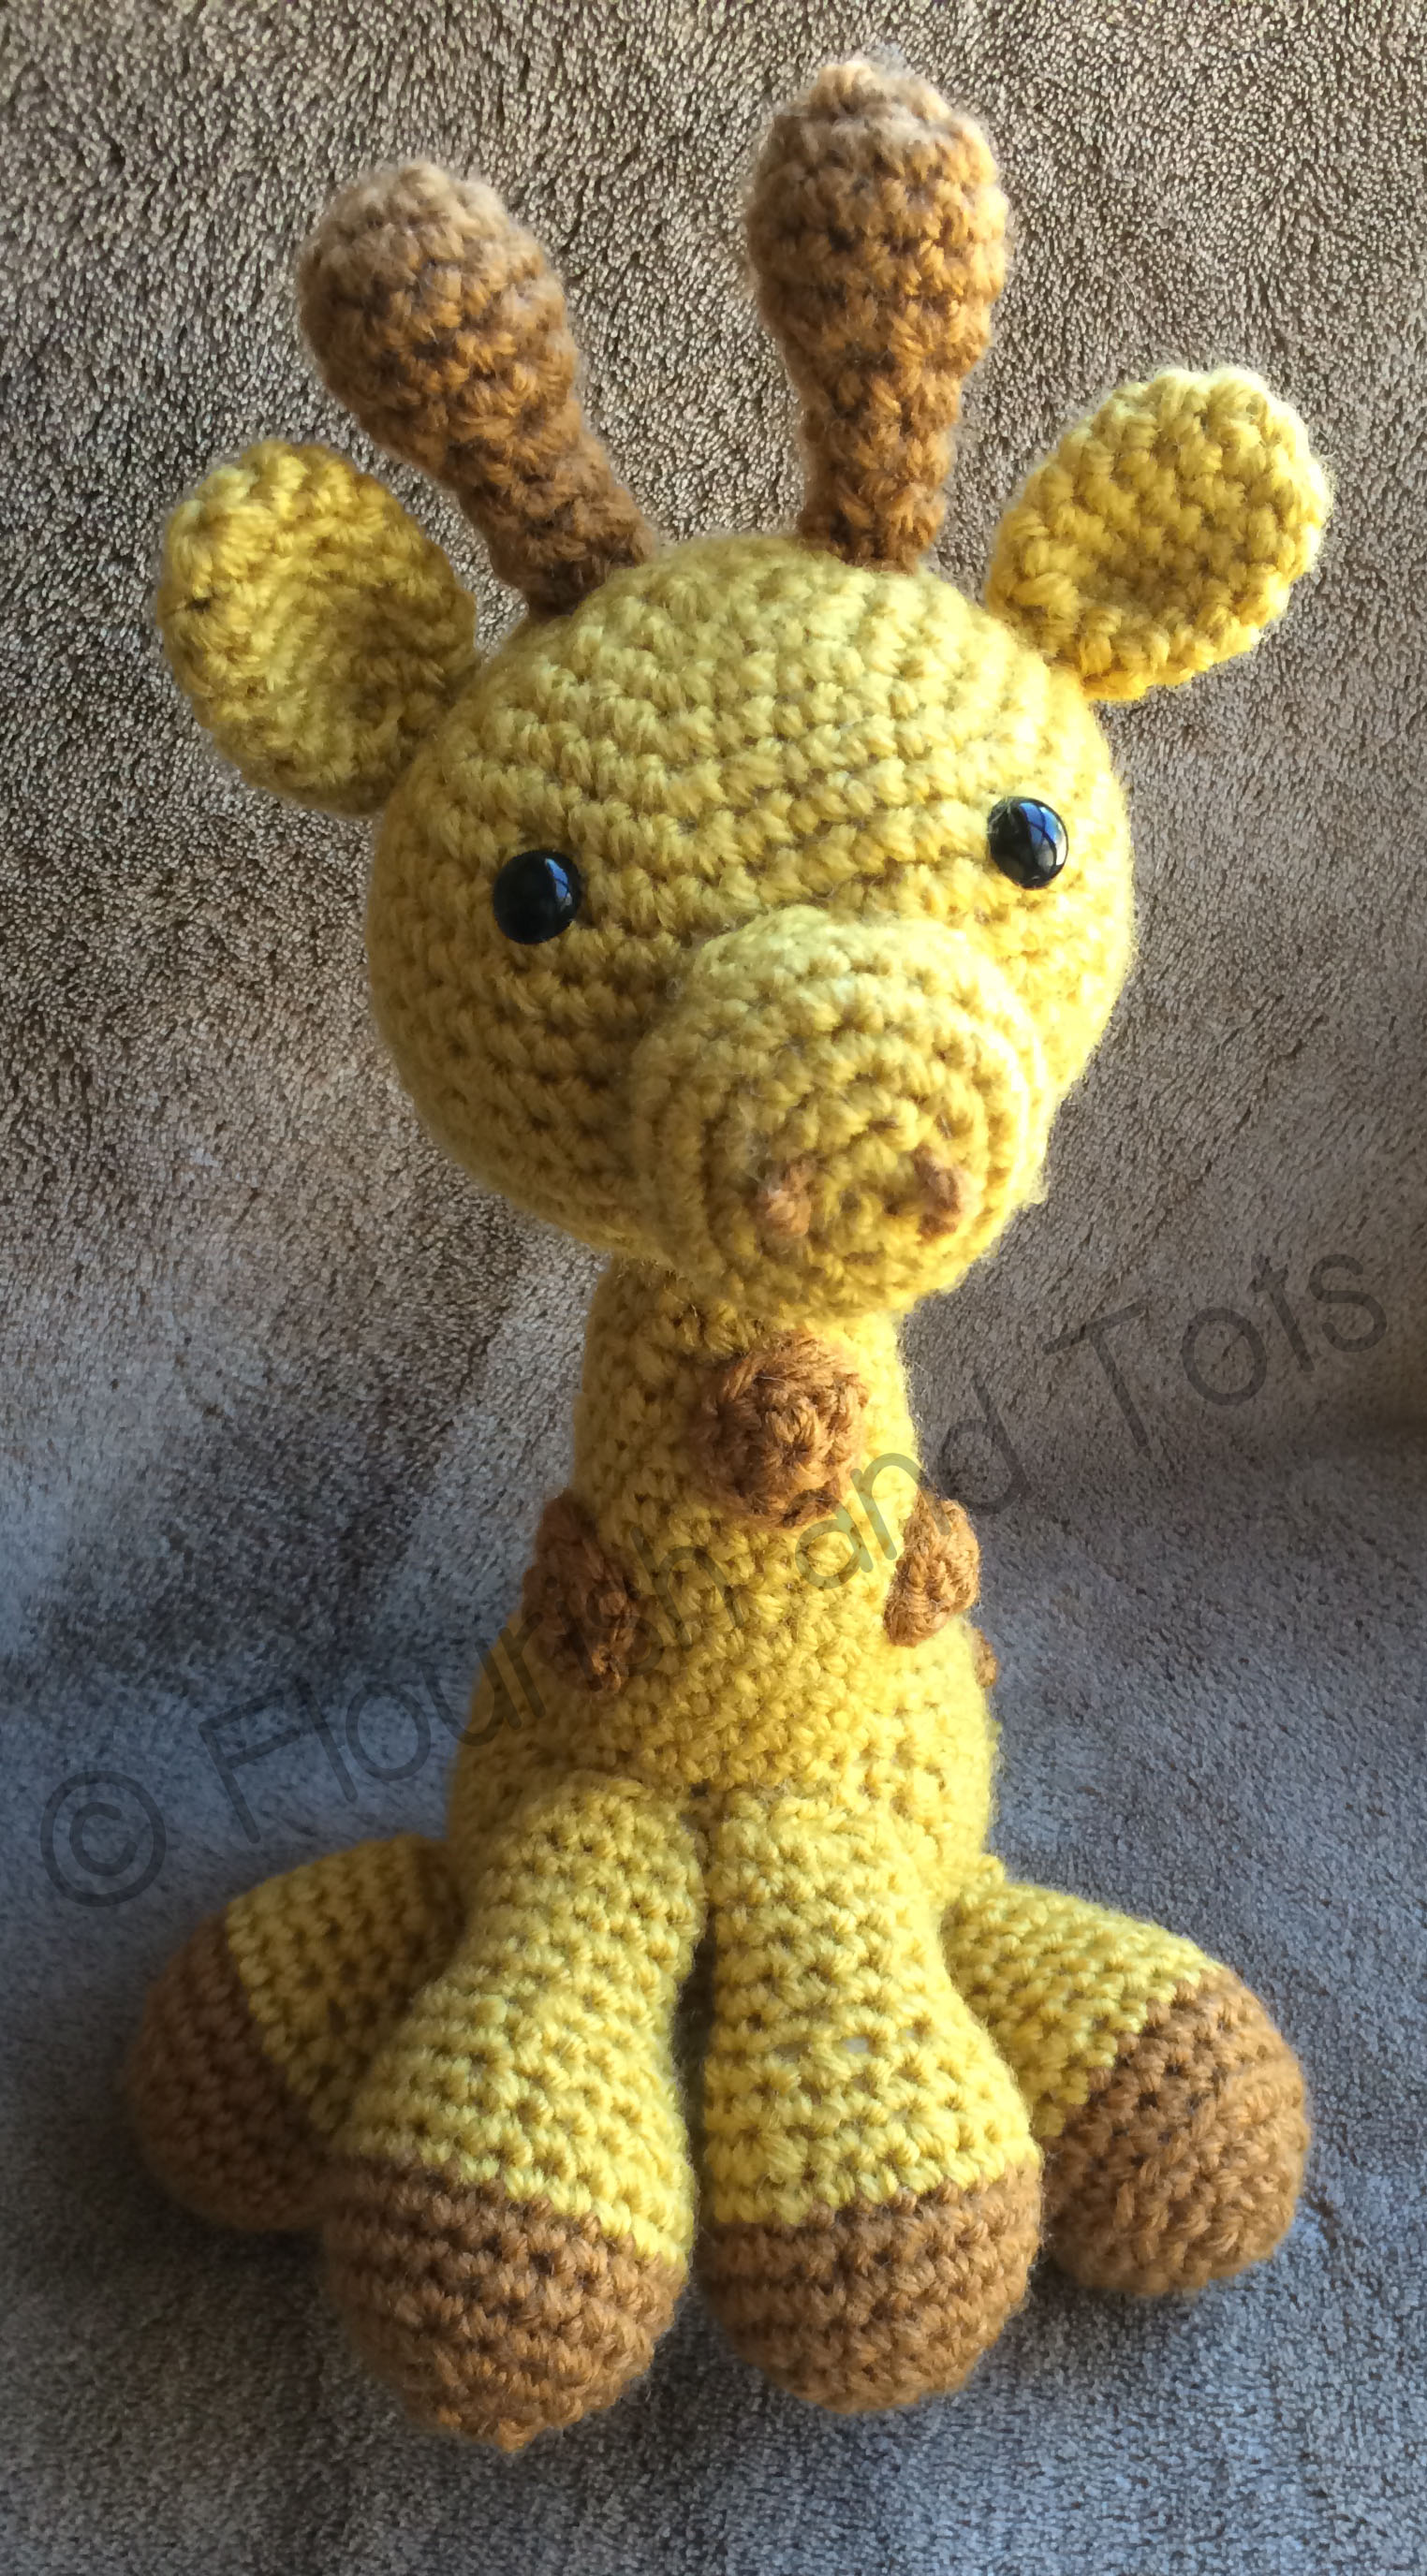

I have twin nieces, one of whom asked specifically for a giraffe after she saw the Elephant Snuggle that I made for my newborn nephew. I wrote this pattern with ease and adorability in mind. This would be perfect for a new baby or a child with a safari-themed nursery or bedroom! This sweet fellow is quick to whip up, and you can even add a bow if you prefer your giraffes female.
I have to admit, this is technically not amigurumi. This giraffe will end up sitting about 10.5″ tall.

To make this doll, you will need the following things:
– Knowledge of basic crochet stitches and abbreviations.
– Worsted weight yarn in two colors of your choice – one for the main body (Color 1) and one for the accents (Color 2)
– Scissors
– A yarn or embroidery needle
– Safety eyes (or buttons, it’s up to you!)
– Stuffing of your choice
– Size G crochet hook
The Pattern:
Body:
(Using Color 1)
Round 1: Ch2, 6sc in 1st Ch (Or, 6sc in Magic Ring) (6)
Round 2: {1inc} x 6 (12)
Round 3: {1sc, 1inc} x 6 (18)
Round 4: {2sc, 1inc} x 6 (24)
Round 5: {3sc, 1inc} x 6 (30)
Round 6: {4sc, 1inc} x 6 (36)
Round 7: {5sc, 1inc} x 6 (42)
Rounds 8-14: 42sc (42)
Round 15: {5sc, 1dec} x 6 (36)
Round 16: {4sc, 1dec} x 6 (30)
Round 17: {3sc, 1dec} x 6 (24)
Start stuffing body, continue stuffing until body is finished.
Rounds 18-22: 24sc x 6 (24)
Round 23: {2sc, 1dec} x 6 (18)
Rounds 24-28: 18sc (18)
Round 29: {1sc, 1 dec} x 6 (12)
Rounds 30-32: 12sc (12)
Finish off, weave in ends.

Front Legs:
(Make 2)
Round 1: Ch2, 6sc in 1st Ch (or 6sc in Magic Ring) (6)
Round 2: {1inc} x 6 (12)
Round 3: {1sc, 1inc} x 6 (18)
Round 4: {2sc, 1inc} x 6 (24)
Rounds 5 & 6: 24sc (24)
Rounds 7: Change to Color 1, 24sc (24)
Round 8: 24sc (24)
Round 9: {2sc, 1dec} x 6 (18)
Round 10: 18sc (18)
Round 11: {1sc, 1dec} x 6 (12)
Rounds 12-18: 12sc (12)
Finish off, leave tail to attach to body.
Stuff legs.
Back Legs:
(Make 2)
Round 1: Ch2, 6sc in 1st Ch (or 6sc in Magic Ring) (6)
Round 2: {1inc} x 6 (12)
Round 3: {1sc, 1inc} x 6 (18)
Round 4: {2sc, 1inc} x 6 (24)
Rounds 5 & 6: 24sc (24)
Rounds 7: Change to Color 1, 24sc (24)
Round 8: 24sc (24)
Round 9: {2sc, 1dec} x 6 (18)
Round 10-13: 18sc (18)
Finish off, leave tail to attach to body.
Stuff legs.
Ears:
(Make 2 in Color 1)
Round 1: Ch2, 6sc in 1st Ch (or 6sc in Magic Ring) (6)
Round 2: {1inc} x 6 (12)
Round 3-8: 12sc (12)
Fold ear in half, secure with 1sl.

Finish off, leave tail to attach to body.
Ossiclones (Head bumps):
(Make 2 in Color 2)
Round 1: Ch2, 6sc in 1st Ch (or 6sc in Magic Ring) (6)
Round 2: {1inc} x 6 (12)
Round 3 & 4: 12sc (12)
Round 5: {1dec} x 6 (6)
Stuff top rounded part of ossicone.
Rounds 6 & 8: 6sc (6)
Finish off, leave tail to attach to body.

Nose:
(Make in Color 1)
Round 1: Ch2, 6sc in 1st Ch (Or, 6sc in Magic Ring) (6)
Round 2: {1inc} x 6 (12)
Round 3: {1sc, 1inc} x 6 (18)
Round 4: {2sc, 1inc} x 6 (24)
Rounds 5 & 6: 24sc (24)
Finish off, leave tail to attach to body.
Sew two french knots for nostrils.
Stuff before attaching to head.
Head:
Round 1: Ch2, 6sc in 1st Ch (Or, 6sc in Magic Ring) (6)
Round 2: {1inc} x 6 (12)
Round 3: {1sc, 1inc} x 6 (18)
Round 4: {2sc, 1inc} x 6 (24)
Round 5: {3sc, 1inc} x 6 (30)
Round 6: {4sc, 1inc} x 6 (36)
Round 7: {5sc, 1inc} x 6 (42)
Rounds 8-14: 42sc (42)
Round 15: {5sc, 1dec} x 6 (36)
Round 16: {4sc, 1dec} x 6 (30)
Round 17: {3sc, 1dec} x 6 (24)
Round 18: {2sc,1dec} (18)
Round 19: {1sc, 1dec} (12)
Stuff head, leave tail to attach to body.
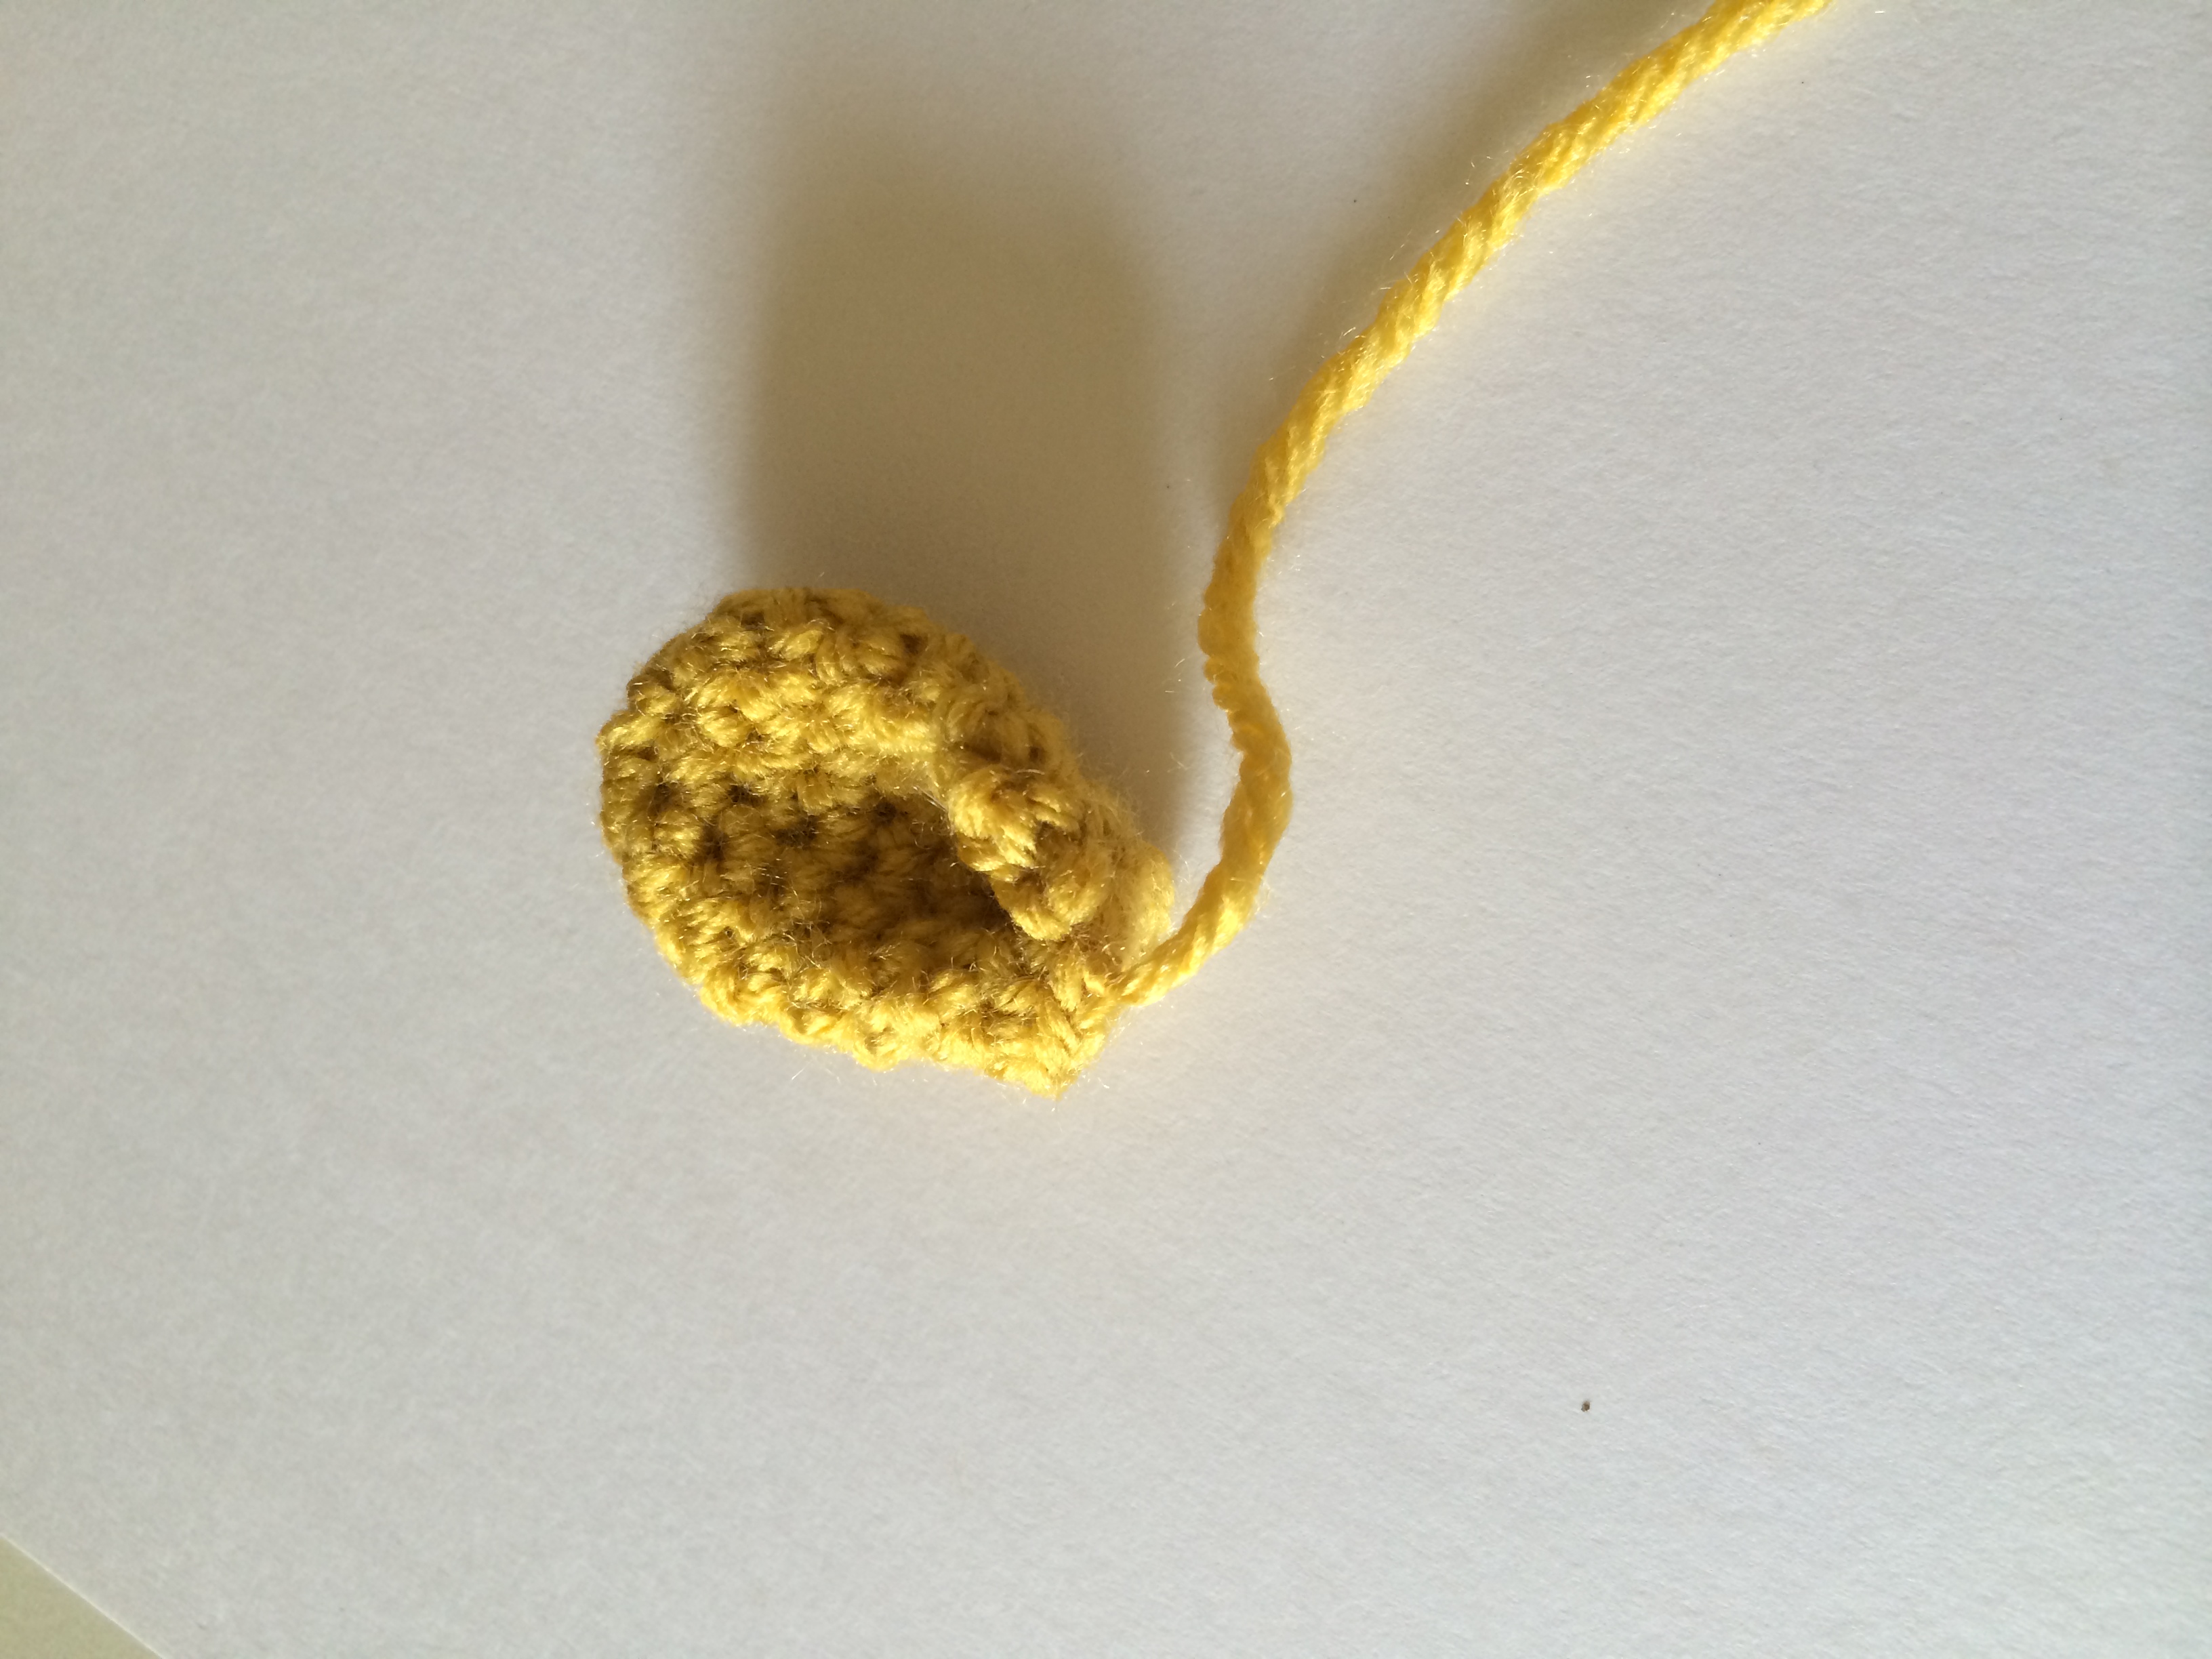
Spots:
(Make 7 in Color 2)
Round 1: Ch2, 6sc in 1st Ch (Or, 6sc in Magic Ring) (6)
Round 2: {1inc} x 6 (12)
Sl in next Sc, finish off. Leave tail to attach to body.
Construction:
– Attach nose, ears, ossicones and safety eyes to head, then attach head to body.
– Attach all four legs to round bottom part of body.
– To make a tail, cut three pieces of yarn twice as long as you would like your fail to be. Insert hook into a loop in the bottom of the body to pull the yarn half-way through. Separate the yarn and braid, finishing with a square knot.


– Sew spots to body.
Your giraffe is now complete! Don’t forget to share your finished product on Instagram (#flourishandtots)
Happy hooking! ❤
Devan


What a sweet little toy. I love him. How can I get a copy of the pattern?
LikeLike
Hi Polly, thank you! The pattern is here in its entirety, but unfortunately we do not have a downloadable version quite yet.
LikeLike
I wanted to share this on pinterest, but I am not seeing the pinterest share link/ icon. 😦
LikeLike
Hi Yvette, thanks so much for bringing that to my attention! It should be fixed now 🙂
LikeLike
Thank you for the free pattern! I just finished my giraffe tonight and I’m happy with it! If you are interested, I posted pictures here:
http://lisascrochet.blogspot.com/2015/11/giraffe.html.
LikeLiked by 1 person
Hi Lisa, thank you so much for sharing!! It turned out so cute ❤️
LikeLike
Hi I love your giraffe ! I started making my own, and everything went till I started making legs. Front legs turn out a lot shorter then the legs on your picture. Also front legs are much shorter the the back legs. I dont understand why the pattern looks different that your actual giraffe. Please, help.
LikeLike
Hi Victoria, so sorry I’ve been away for so long! Were you ever able to make the legs work for you? I’d be happy to help if not!
LikeLike
Hey 🙂
It is so cute! Do you know how many yarn you needed? In gram and metres or inches? That would be very helpful!
LikeLike
Hi Yasmini, I used one standard size skein of each color. I used Vanna’s Choice which comes in 100g skeins. I always like to have an extra of each color on hand though, just to be safe 🙂
LikeLike
Hi I’m a novice when it comes to crochet, I know the basics and how to make toys, But could you tell me how to scale up this pattern? I wanted to make this adorable design just a liiittle bit bigger.
LikeLike
Hi Kat, so sorry I’ve been away for so long! If you wanted to make him taller, I’d just add several extra rounds in each body part (add them during the times when you’re crocheting the same number of stitches for several rounds in a row, like rounds 8-14 on the body). If you wanted to make him wider, you could add in an extra increase round on each body part. For example, on the body, you could add it right after row 7. Just {6sc, 1 inc} x 6 and have 48 stitches around instead of 42. Just don’t forget that you’d need to add an extra decrease row at the end as well. I hope that helps!
LikeLike
He’s so cute!!! So tiny!!!!
LikeLike
Thanks!!
LikeLike
Would anyone happen to know which colors to use to achieve this look? Thanks in advance.
LikeLike
Hi Tammy, so sorry for the VERY late reply! I used Vanna’s Choice in Mustard and Toffee
LikeLike
I absolutely adore this pattern, thank you for sharing it! I made one for my niece and a good friend who just had a baby boy. I wanted to know if it would be alright to sell some finished giraffes at some local craft fairs that run through my town. (There would not be any mass producing or anything, just me making some.) I just really enjoy making these. =) Thanks for your consideration and hope you have a great day!
LikeLike
Hi Megan! So sorry for the super late reply. I’m so glad it turned out nicely for you! Please feel free to sell the finished product. If you’re going to sell online, please tag me! Have fun!
LikeLike
I love this pattern! I made one for my friend’s baby girl. Would I be allowed to sell ones I make on Etsy if I credit the owner of the pattern? If not, I completely understand! Thank you guys for providing the pattern!
LikeLike
Hi there! So sorry for the late reply. Please feel free to sell the finished product as long as you credit me in your listing. Have fun!
LikeLike
Pingback: Crochet…and Christmas! | Teapots and Paint Splots
Thank you so much for the pattern, I made this for my granddaughter for Christmas, she absolutely loves it!
LikeLike
Hi Nancy, I’m so glad!! Thank you!!
LikeLike
Pingback: Jill the Giraffe - A Christmas Gift | Fanciful Things, LLC
Made this for a friend of mine and it was a huge hit! Just shared over at my blog! 🙂
https://thehealinghooker.wordpress.com/2016/12/09/does-it-get-any-cuter/
LikeLike
Thanks so much, Kay!
LikeLike
Pingback: Jill the Giraffe - A Christmas Gift | Fanciful Handmade Things
Thankyou it is so ok sweet
LikeLike
Thanks, Uschi!
LikeLike
Pingback: Giraffe | Free Amigurumi directory